


Update 30 Dec 2018: Molded refractories are a pain to deal with because of the required compression. A better option is to make a brick mold and build your furnace separately.
Introduction
Chemically bonded vermiculite (CBV) is so easy and extremely cheap. It really only has one ingredient: vermiculite. Commonly sold as loose fill attic insulation or as a soil amendment by the cubic foot. With a little bit of an acid binder and some force, CBV can withstand temperatures high enough to melt copper with low shrinkage and high insulating value. The only downside is the need for a strong mold to withstand ~350 kPa during the ramming process. Thick wood works just fine, so it isn’t really a major downside.
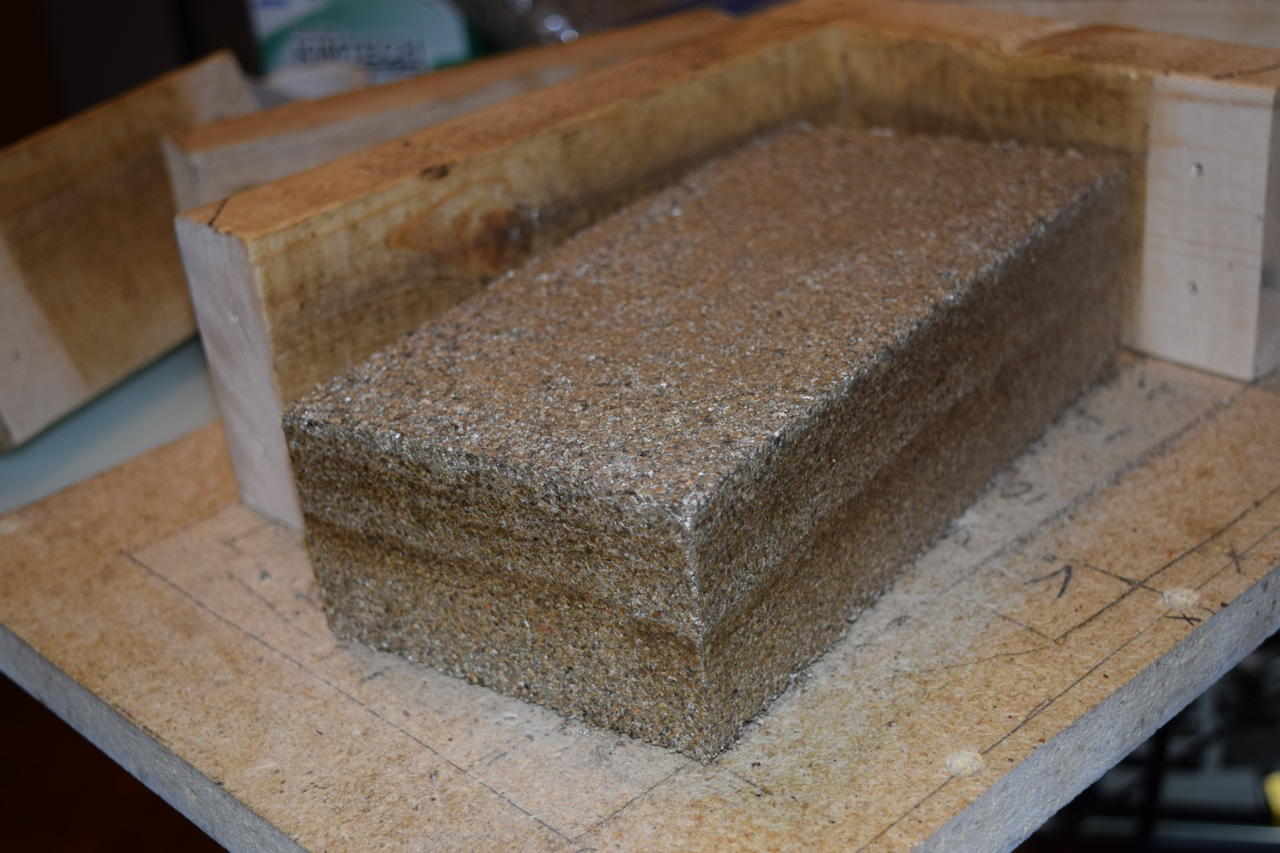
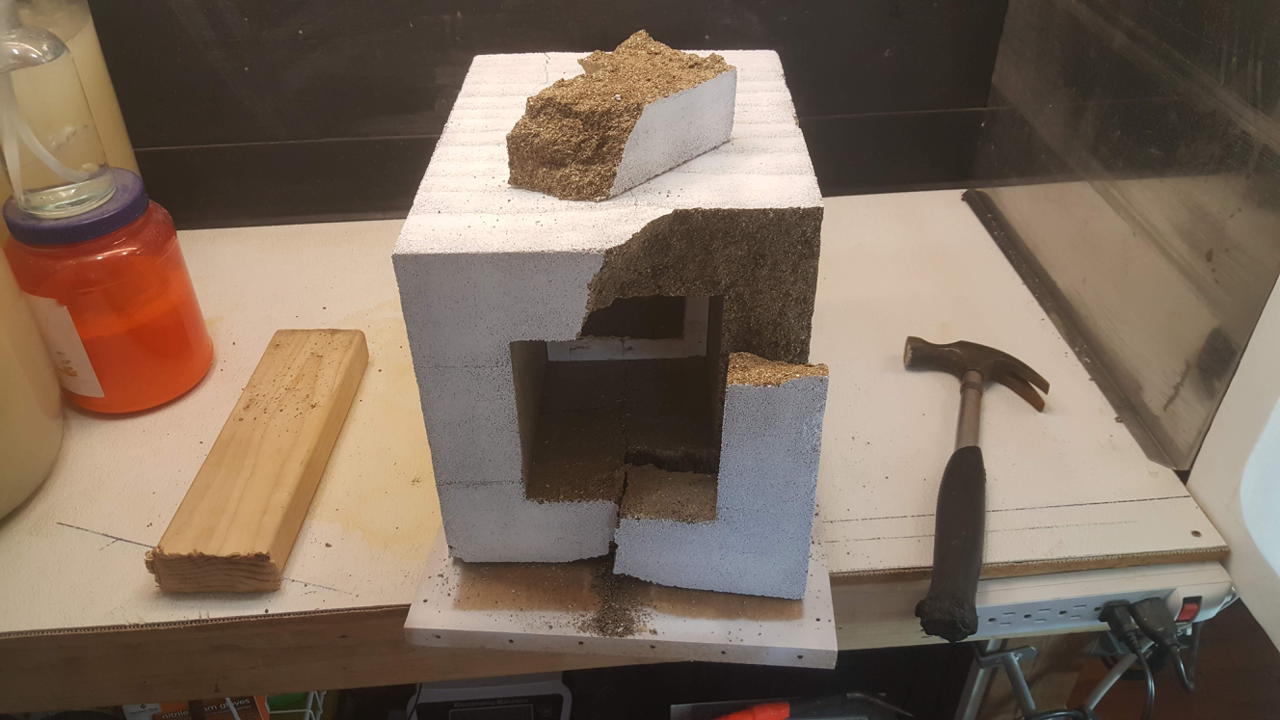
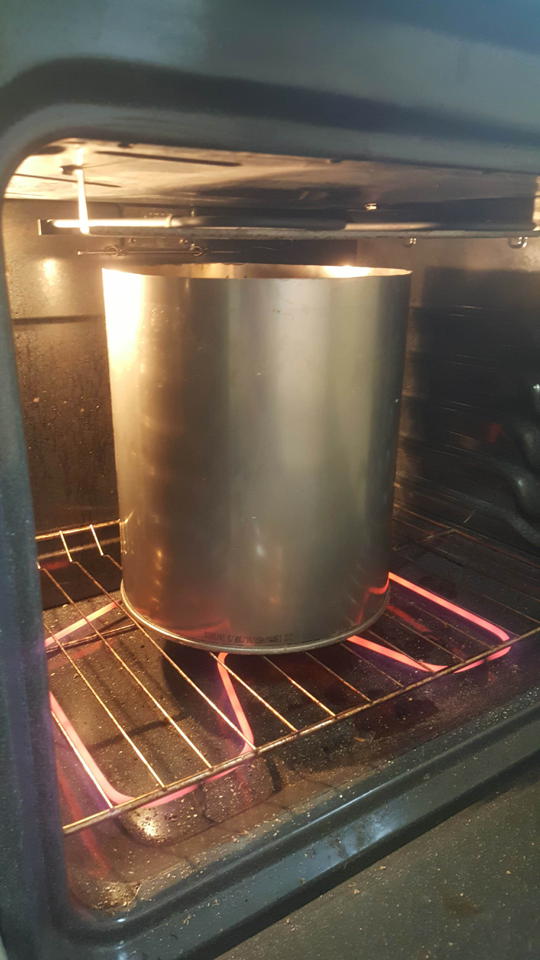
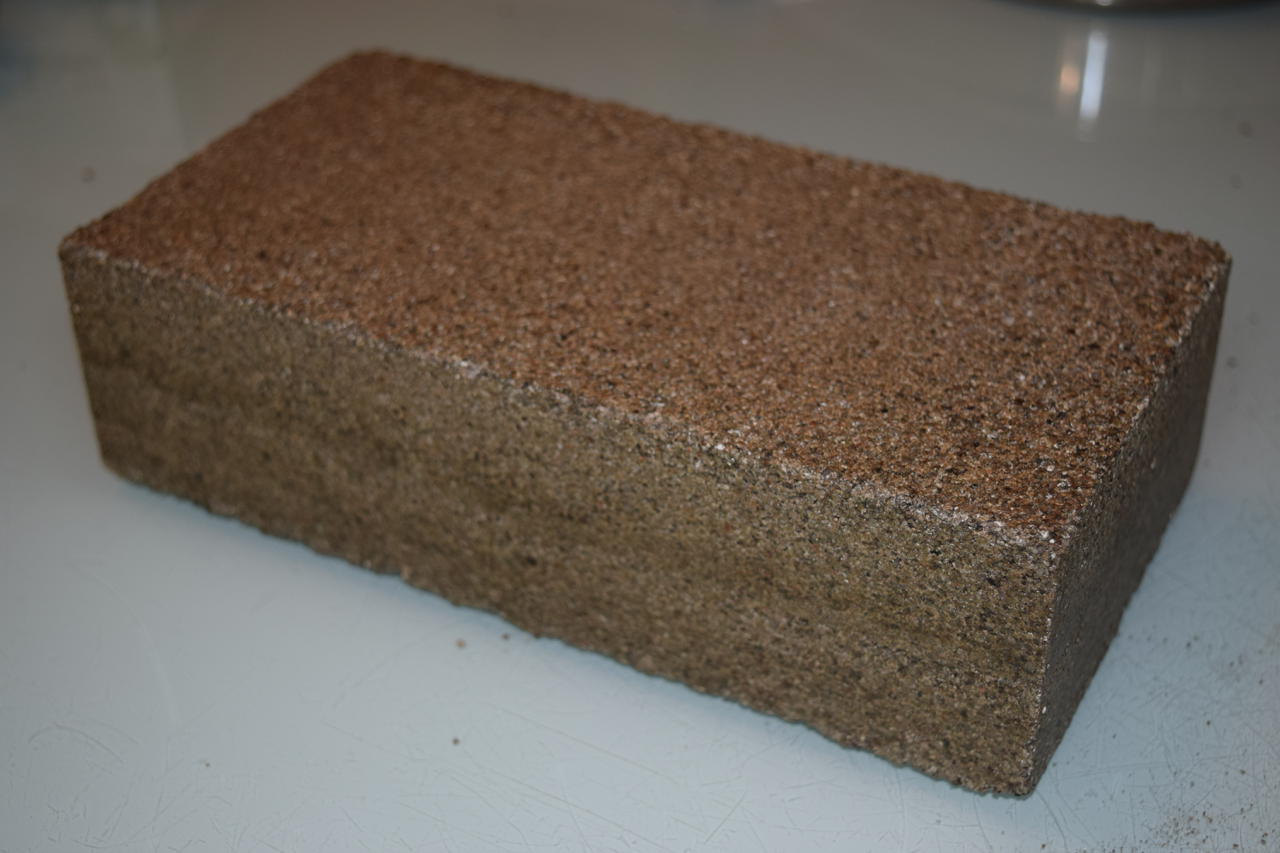
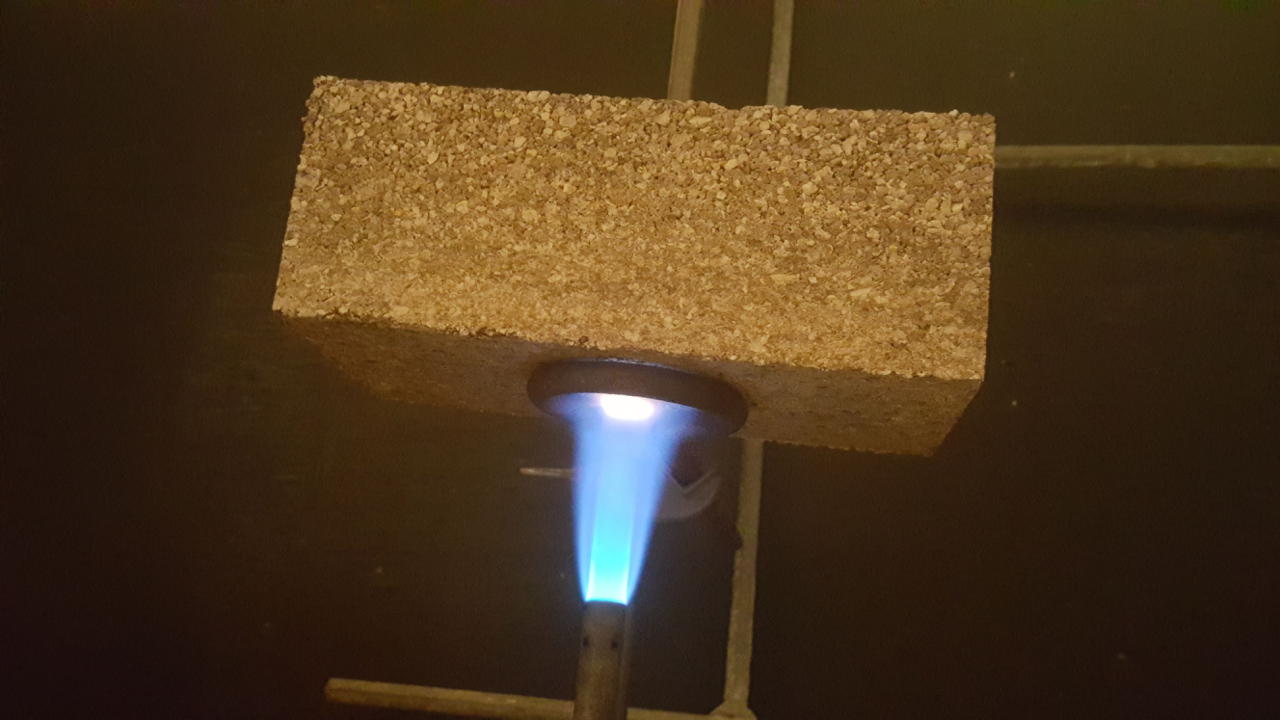
Initial tests using a brick style mold worked great. Baking the mold in the oven for a few hours increases the hardness sufficiently that it can be removed without cracking. Half an hour under a bunsen burner greatly increases the strength. The finished brick can be easily cut with a wood saw. Testing on a lab furnace mold didn’t work as well, however. It fit into my oven just fine, but the wood mold was close enough to the heating coil that it started to burn. So I had to cut the drying phase short. This resulting in the whole thing crumbling when the mold was removed. Solution: either use individual bricks to build a furnace al la Doug’s Lab and others, or use a heat proof mold. (Doug’s Lab 2016)
Stats of CBV
| characteristic | value |
|---|---|
| density | 400-600 kg/m^3 |
| bending strength | 0.49 – 0.56 MPa (4.8 – 5.5 kg/cm^2 ) |
| linear reheat shrinkage at 1150C | 0.6 – 0.8% |
| heat conductivity at 350C | 0.09 – 0.16 W/(m K) |
| heat conductivity at 650C | 0.11 – 0.18 W/(m K) |
| maximum temperature | >1150C (Suvorov and Skurikhin 2003) |
For comparison Kaowool typically has heat conductivity of 0.06-0.08 W/(m K) at 206C (better) and 0.21-0.47 W/(m K) (worse) at 816C. It has a similar continuous use maximum temperature (1100C). It is sold in a range of densities 48-192 kg/m^3.
| material | melting temperature |
|---|---|
| aluminum | 660C |
| bronze | ~950C |
| gold | 1064C |
| copper | 1084C |
Using a clay binder instead of a chemical one will increase the heat conductivity but it may increase the strength. Probably make it a lot easier to work with too. Plus its not commonly sold in hardware stores except in small containers meant for furnace patch work.
WARNING
This procedure involves strong acids and potentially carcinogenic substances (when inhaled). Wear gloves, eye protection, and a mask.
Recipe
Ingredients
- 100 parts vermiculite insulation
- 5 parts magnesium sulfate heptahydrate (Epsom salts)
- dissolve MgSO4 in 20 parts water
- 4 parts 35% phosphoric acid (concrete etch)
- 10 parts 92% sulfuric acid (drain cleaner)
Instructions
- calculate total volume of refractory material needed for your mold
- multiply by 350 kilograms per cubic meter (22 pounds per cubic foot) to obtain the necessary weight of vermiculite to start with
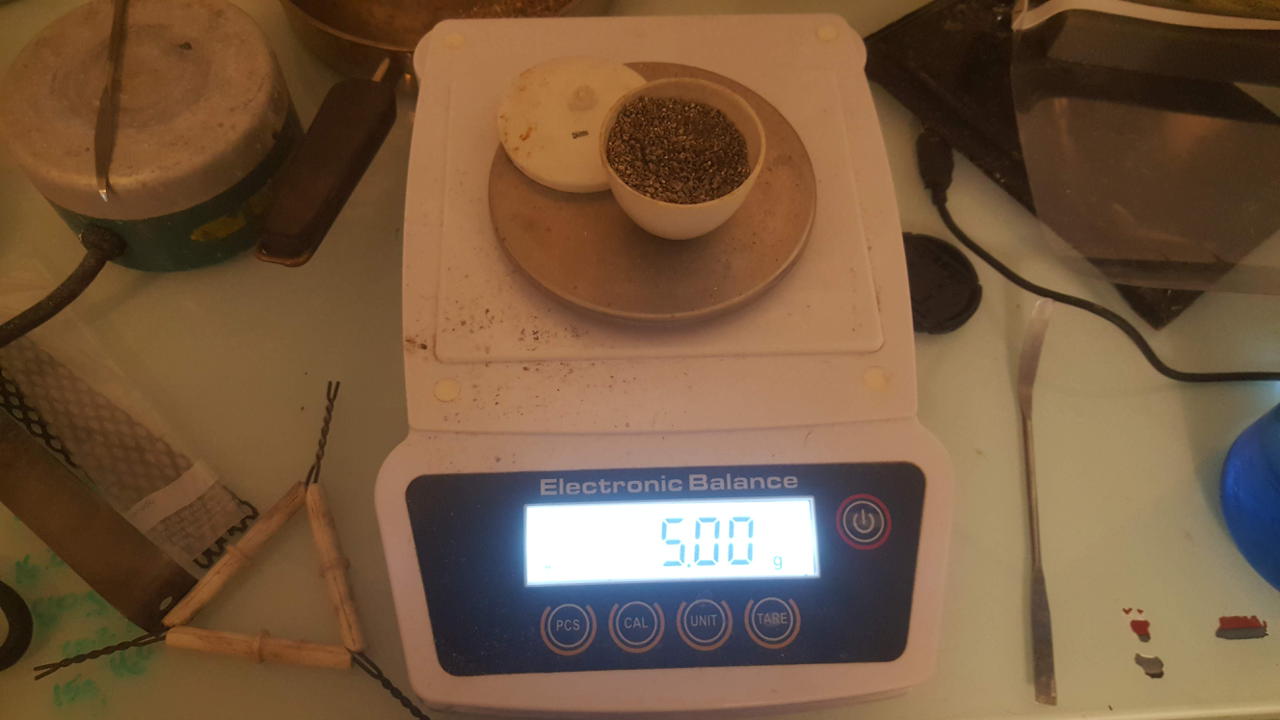
- measure out that amount of vermiculite
- this will likely be done in batches
- measure out 5% of the mass of vermiculite as magnesium sulfate heptahydrate
- dilute magnesium sulfate in 4 times its mass in water
- use a spray bottle to coat the vermiculite in the magnesium sulfate solution while mixing thoroughly
- measure out 4% of the mass of vermiculite as dilute (~35%) phosphoric acid
- this can be obtained as concrete etcher (not the muriatic acid kind)
- measure out 10% of the mass of vermiculite as concentrated (>92%) sulfuric acid and add to phosphoric acid
- this can be obtained at drain cleaner from most hardware stores
- warning this will generate a lot of heat
- use the spray bottle to coat the vermiculite with the acid mixture while mixing thoroughly
- vermiculite should remain relatively dry and easy to mix
- ram small portions of mix into your mold using a hammer
- the goal is 200-700 kPa (30-100 psi) compression which is roughly the force per unit area of a hammer strike across the hammer head
- the greater the compression -> the greater the strength -> the lesser the insulation
- mixture must be used within a few hours
- after ramming, the refractory has enough strength to be handled lightly
- the strength can be increased by first drying and then calcining (optional)
- drying occurs above 200C (400F)
- calcination is complete somewhere around 1100C (2000F)
Example
- I have a mold that requires 20 liters (0.7 cubic feet) of refractory to fill
- That means I need a total of 7 kg vermiculite
- I can’t do all that at once, so I’m splitting it into 3 batches:
- 2.33kg vermiculite is added to mixing tub wear a mask
- 117g epsom salts is added to spray bottle
- 466g water is added to bottle and mixed thoroughly to dissolve
- vermiculite is coated evenly with magnesium sulfate spray
- 93g of dilute phosphoric acid is added to bottle wear gloves
- vermiculite is coated evenly with phosphoric acid spray
- 233g concentrated is added to bottle
- coat the vermiculite evenly with sulfuric acid spray
- pack the refractory into the mold a little at a time
- repeat 2 more times for a total of 7kg vermiculite used
- let sit overnight
Log
21 Sep 2019
There’s some delamination that I can feel under the surface of the brick I made last week. I made a second brick starting with 450g of vermiculite. This was insufficient to make a full brick, unfortunately.
Brick making would be a lot easier if I had a hydraulic press. Perhaps I could try to squish the mold between my car and a floor jack. That would only give about 1000lbs because my car is tiny.
15 Sep 2019
So I’ve been looking into phosphate binders. Apparently, the reaction of alumina and phosphoric acid only takes place above 127C (Lopes et al. 2017). Magnesia on the other hand, converts to the phosphate at room temperature. I’m thinking a phosphoric acid, magnesia, alumina, vermiculite refractory. Alumina isn’t commonly available in big box stores, but it is available at every pottery store. I’m only using it because I have some and it is extremely refractory. I’ll run some tests on magnesia bonded only.
Magnesia (sort of) is available as magnesium hydroxide “Milk of Magnesia” laxative.
I have been using Krud Kutter Concrete Clean & Etch as my source of phosphoric acid (25-50%). I also found OUT filter mate Heavy Duty Softener cleaner to contain 15-40% phosphoric acid according to the sds. The choice is yours.
TODO: titrate each phosphoric acid source
Also, finding some sort of clay binder for mineral wool insulation would be awesome. As it is, mineral wool is too fragile.
- 15.85g verm (2x the volume of my mold)
- added 1ml milk of magnesia (~0.8g) to a test tube (0.5%)
- diluted with 5ml H2O
- added ~1.5ml dilute phosphoric acid (solution immediately clears) (10%)
- solution is mixed slowly into vermiculite
- mix is pressed with thumb into small mold (stainless condiment cup)
- compressed mix occupies approximately 40% of the volume of the free flowing mix
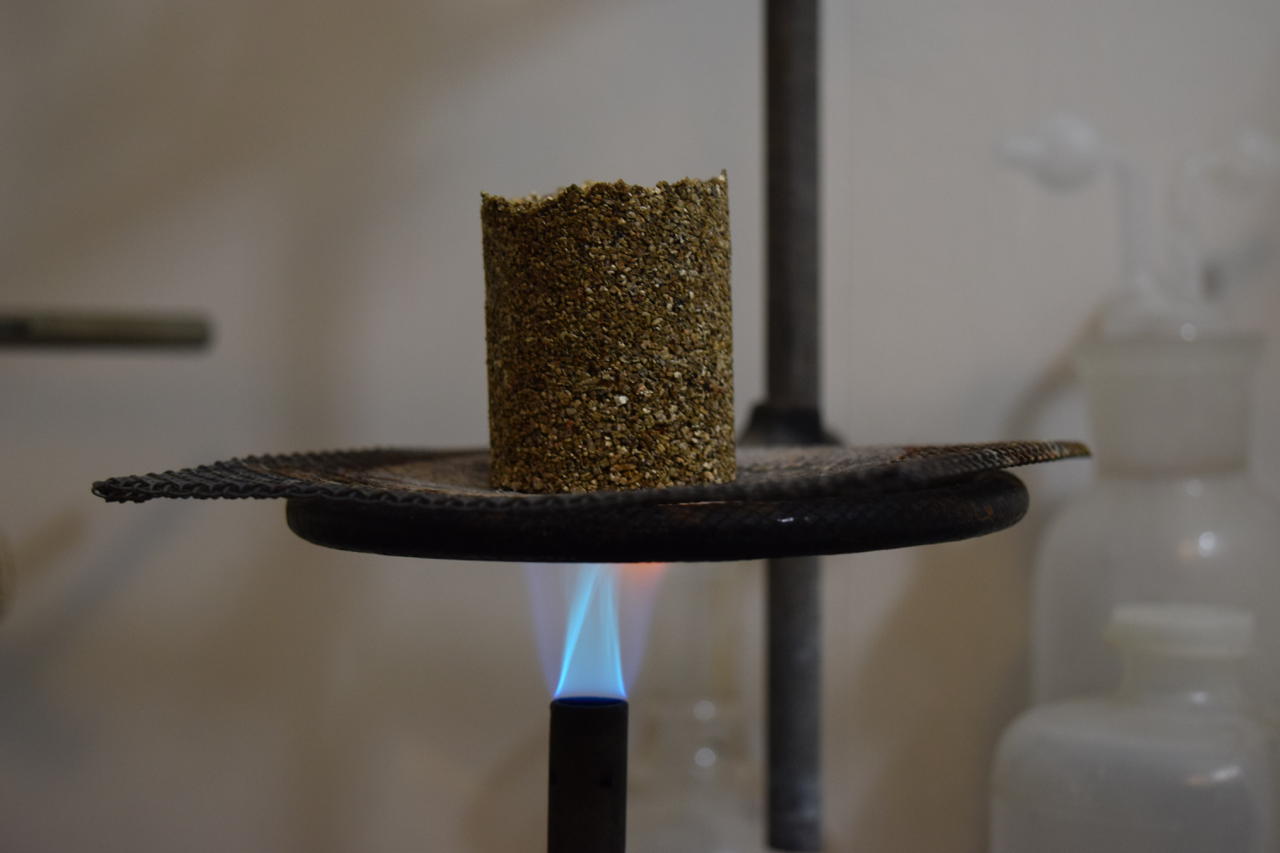
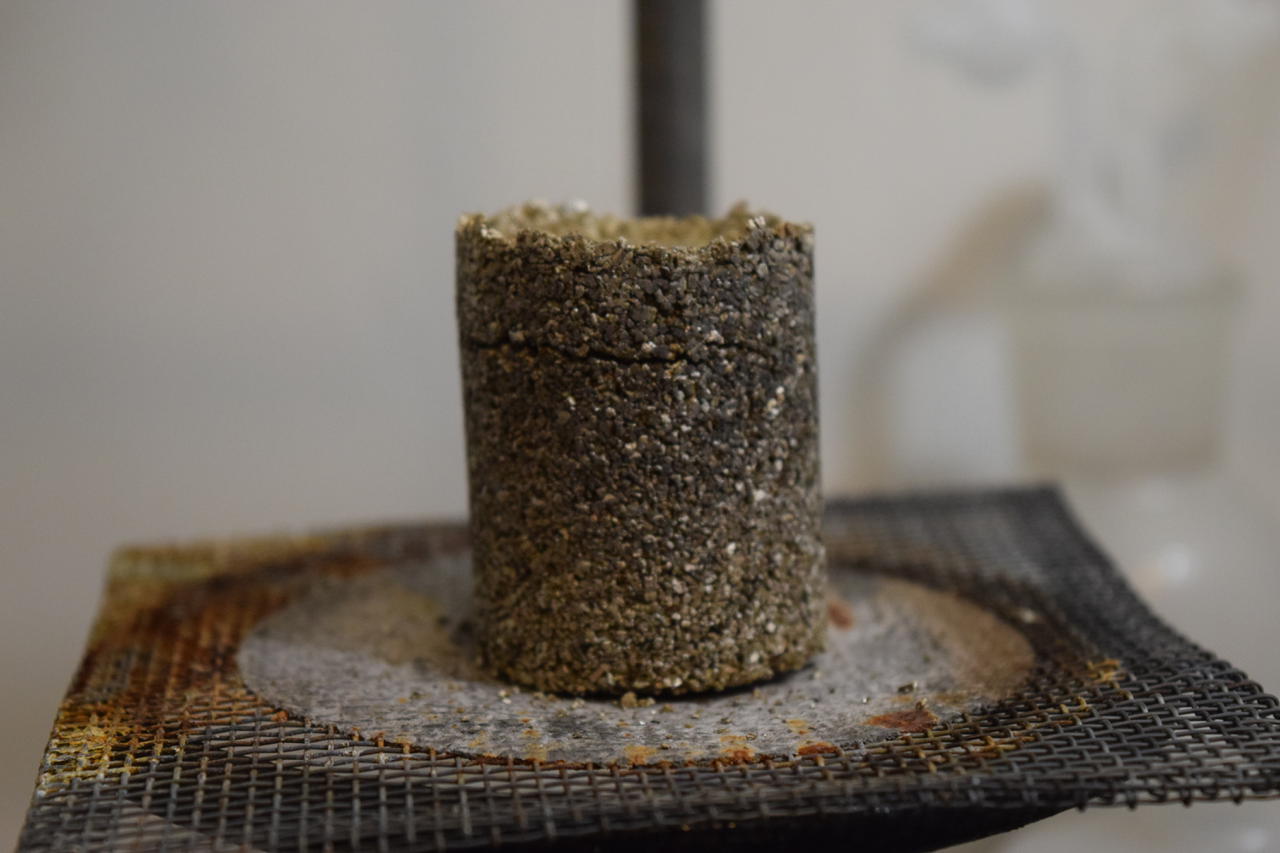
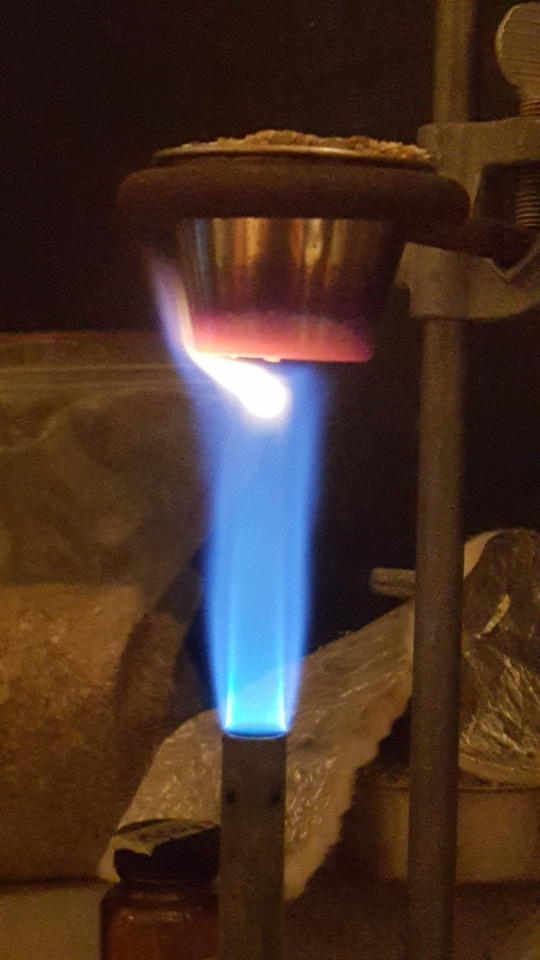
- mold is heated with propane burner
There’s quite a lot of expansion upon heating: 15% or more. The mix might have to be dried while compressed. Or heated more evenly in an oven. In any case, I stopped heating after a few minutes and the thing crumbled. More experimentation is needed.
I decided to give brick making another go. For a single 9“x4.5”x2.5" standard firebrick:
- 1.29lbs (1lb 4.6oz) vermiculite
- 30g magnesium sulfate
- 60g phosphoric acid (double the recipe)
- 60g sulfuric acid
- 30g alumina
I was unable to compress the brick sufficiently to use all of the mix. Next batch should be 3-4oz less. For the surface of this brick (~40 sq. in), over 2000 lbs of pressure is needed for appropriate compression.
The formed brick was dried overnight in the mold and then put in the oven at 350F.
11 Aug 2019
Let’s try some alternative recipes using silicate bonded vermiculite. Start by making some sodium silicate from cat litter and drain cleaner.
- 60g silica gel cat litter (60.1g/mol)
- 200ml H2O
- 20g sodium hydroxide drain cleaner (40.0g/mol)
This results in a 29% solution of 2:1 sodium silicate solution with a density of 1.2g/ml. Ideally, a ratio of 2.0-2.5:1 silicate to alkali is used for refractory purposes. I started with 2:1 for solubility.
If this goes well, I will move on to using potassium silicate for greater temperature resistance. Sodium formulations are limited to about 650C. If you are using perlite, go with the cheaper sodium because the limiting factor is the melting point of perlite.
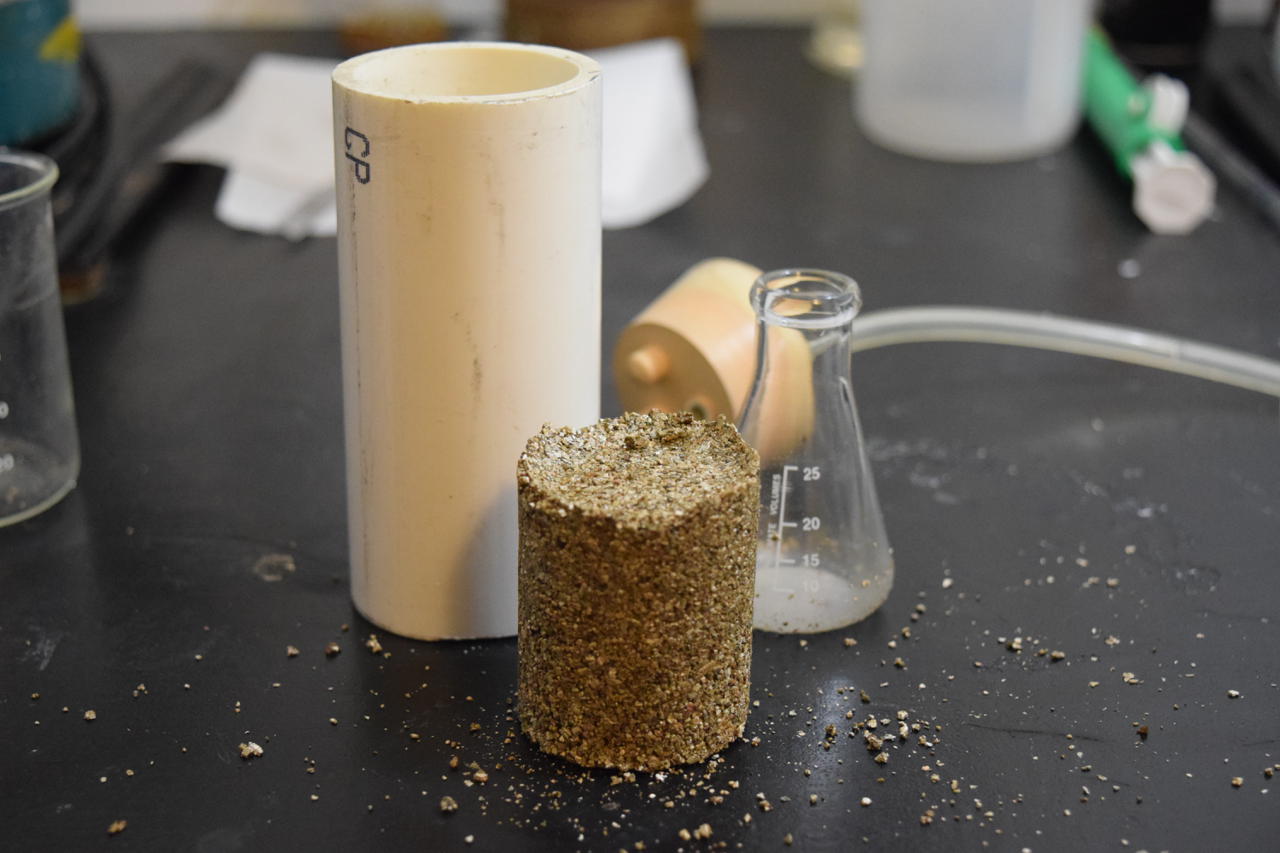
This test run will be with 100ml of fine vermiculite and 10ml (12g total; 3.5g silicate) of my silicate solution. The ingredients are mixed in a baggie and poured into a 2 inch PVC section of 4 inches length. The mix is then compressed under my weight to a volume of about half. I then used a carbon dioxide generator to blow through about 1L of CO2, which is way more than required (25% by weight of silicate or 0.9g/400ml).
So… ya… that didn’t work. The test puck disintegrated.
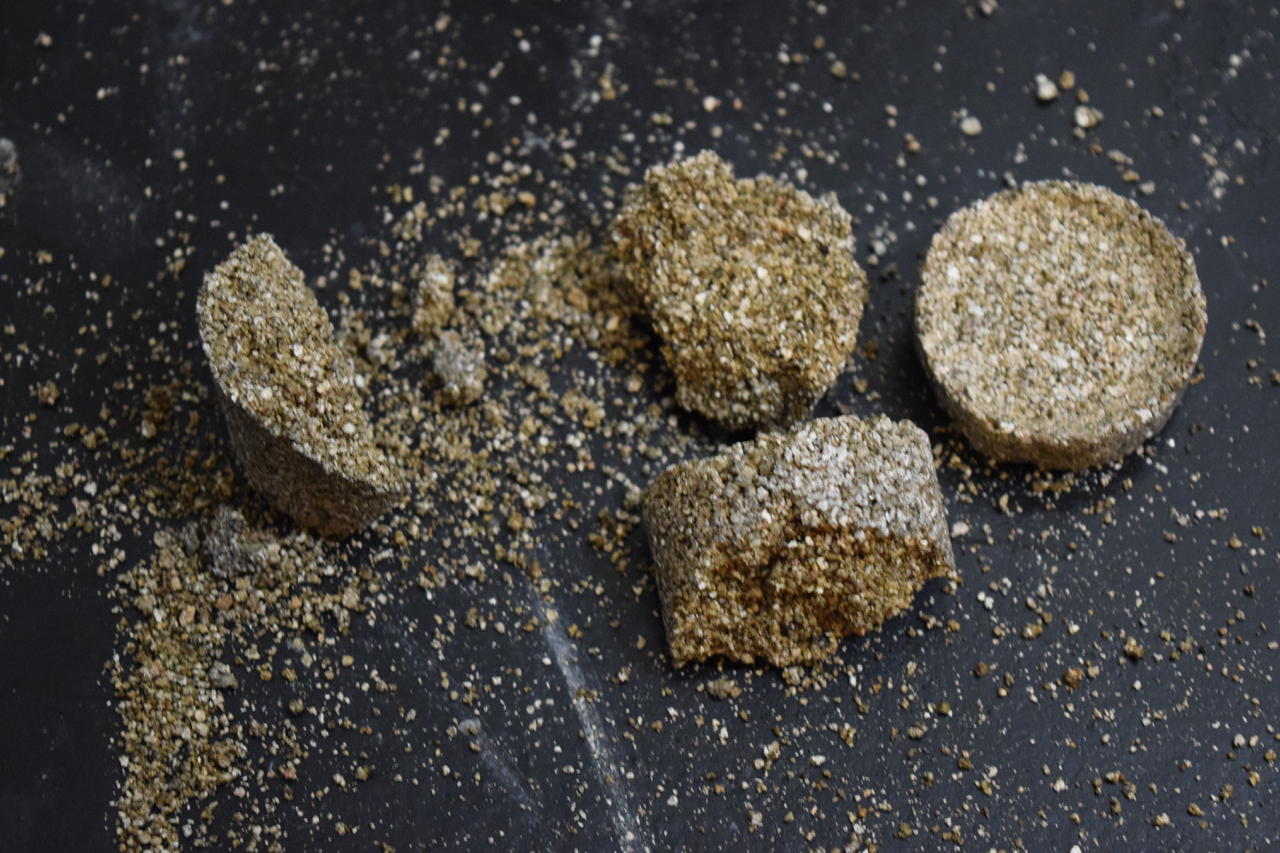
Let’s try more silicate. 30ml silicate solution per 100ml vermiculite this time. Upon compression the silicate solution dribbled out of the bottom of the mold. I decided to bake the puck in the oven at 500F before exposing it to direct flame to reduce heat shock and cracking. I might have to make a more concentrated silicate solution.
The puck seems to be cured on the outside.

But it definitely isn’t on the inside.

30 Jun 2018
- Refractory bricks: 8“x4”x2.5" -> 80 in^3 -> 0.0463 ft^3 -(23.6 lbs/ft^3)-> 1.09 lbs -> fill each brick mold with 494g refractory mix
1 brick (4“x3.5”x8“):
- 494g vermiculite
- 24.7g MgSO4*5H2O
- 98.8g H2O
- 49.4g H2SO4 + 19.8g H3PO4
- mixed; use mini spray bottle
not enough pressure; molding wasn’t as compact as original design
29 Jun 2018
- The first vermiculite refractory went great; even hand compression had pretty good characteristics despite 1/5th the density
Recipe:
- 100 parts vermiculite
- 5 parts magnesium sulfate hemihydrate as 20% soln.
- add slowly; mix to uniformity
- 10 parts 92% H2SO4 + 2 parts 75% H3PO4; add slowly
- mix to uniformity
- compress into mold; 30-100 psi
- heat >180C until dry and solid
Test run:
- 25g vermiculite
- 1.25g mg sulfate + 5g H2O
- 2.5g H2SO4 + 1g ~40% H3PO4
Bibliography
Doug’s Lab. 2016. “DIY Electric Furnace: Part 1.” https://www.youtube.com/watch?v=M5oKvHktmNU.
Lopes, S. J. S., A. P. Luz, D. T. Gomes, and V. C. Pandolfelli. 2017. “Self-Flowing High-Alumina Phosphate-Bonded Refractory Castables.” Ceramics International 43 (8): 6239–49. https://doi.org/10.1016/j.ceramint.2017.02.023.
Suvorov, S. A., and V. V. Skurikhin. 2003. “Vermiculite a Promising Material for High-Temperature Heat Insulators.” Refractories and Industrial Ceramics 44 (3): 186–93. https://doi.org/10.1023/A:1026312619843.